Most automation platforms charge per task. You hit a ceiling, costs spike, and suddenly your "no-code" tool is eating into margins. That is exactly why self-hosting n8n has become the go-to move for agencies, developers, and businesses that want unlimited automation without per-execution fees.
I have been running self-hosted n8n instances for client automations since 2024, and it is one of the highest-ROI infrastructure decisions you can make. In this guide, I will walk you through exactly how to set it up — from server provisioning to production-ready deployment.
Quick Summary
- n8n is free to self-host — the community edition gives you unlimited workflows and executions at zero cost
- Docker is the recommended deployment method — it handles dependencies, updates, and isolation cleanly
- You need a VPS with at least 2GB RAM — providers like Hetzner, DigitalOcean, or AWS Lightsail work well
- SSL and authentication are mandatory — never expose n8n without HTTPS and login credentials
- Automated backups protect your workflows — a simple cron job saves your data nightly
What Is n8n and Why Self-Host It?
If you are new to n8n, start with our complete introduction to n8n. The short version: n8n is an open-source workflow automation tool that connects apps, APIs, and AI models through a visual node-based editor.
n8n offers a cloud-hosted plan, but self-hosting gives you three distinct advantages:
- No per-execution limits. Cloud plans cap your runs. Self-hosted n8n runs unlimited workflows without throttling.
- Full data control. Your workflow data, credentials, and API keys stay on your server — not on someone else's infrastructure.
- Cost predictability. A $10-20/month VPS replaces what could be a $50-200/month cloud subscription once you scale past basic usage.
For agencies running client automations, self-hosting is almost always the right call. I run dedicated n8n instances per client so their data stays isolated and their workflows never compete for resources.
What You Need Before Starting
Before you touch a terminal, make sure you have these pieces in place:
Server Requirements
| Component | Minimum | Recommended |
|---|---|---|
| CPU | 1 vCPU | 2+ vCPUs |
| RAM | 1 GB | 2-4 GB |
| Storage | 20 GB SSD | 40+ GB SSD |
| OS | Ubuntu 20.04+ | Ubuntu 22.04 LTS |
Other Prerequisites
- A domain name pointed to your server's IP address (e.g.,
n8n.yourdomain.com) - Basic terminal comfort — you will be running commands over SSH
- A VPS provider account — I recommend Hetzner (best value), DigitalOcean (easiest UI), or AWS Lightsail (if you are already in the AWS ecosystem)
Step 1: Provision Your Server
Spin up a new VPS with Ubuntu 22.04 LTS. Once it is running, SSH into it:
ssh root@your-server-ip
Update the system and install prerequisites:
apt update && apt upgrade -y
apt install -y curl git ufw
Configure the Firewall
Lock down everything except SSH, HTTP, and HTTPS:
ufw allow OpenSSH
ufw allow 80
ufw allow 443
ufw enable
Step 2: Install Docker and Docker Compose
Docker is the cleanest way to run n8n. It handles all dependencies and makes updates painless.
curl -fsSL https://get.docker.com | sh
apt install -y docker-compose-plugin
Verify the installation:
docker --version
docker compose version
Both commands should return version numbers without errors.
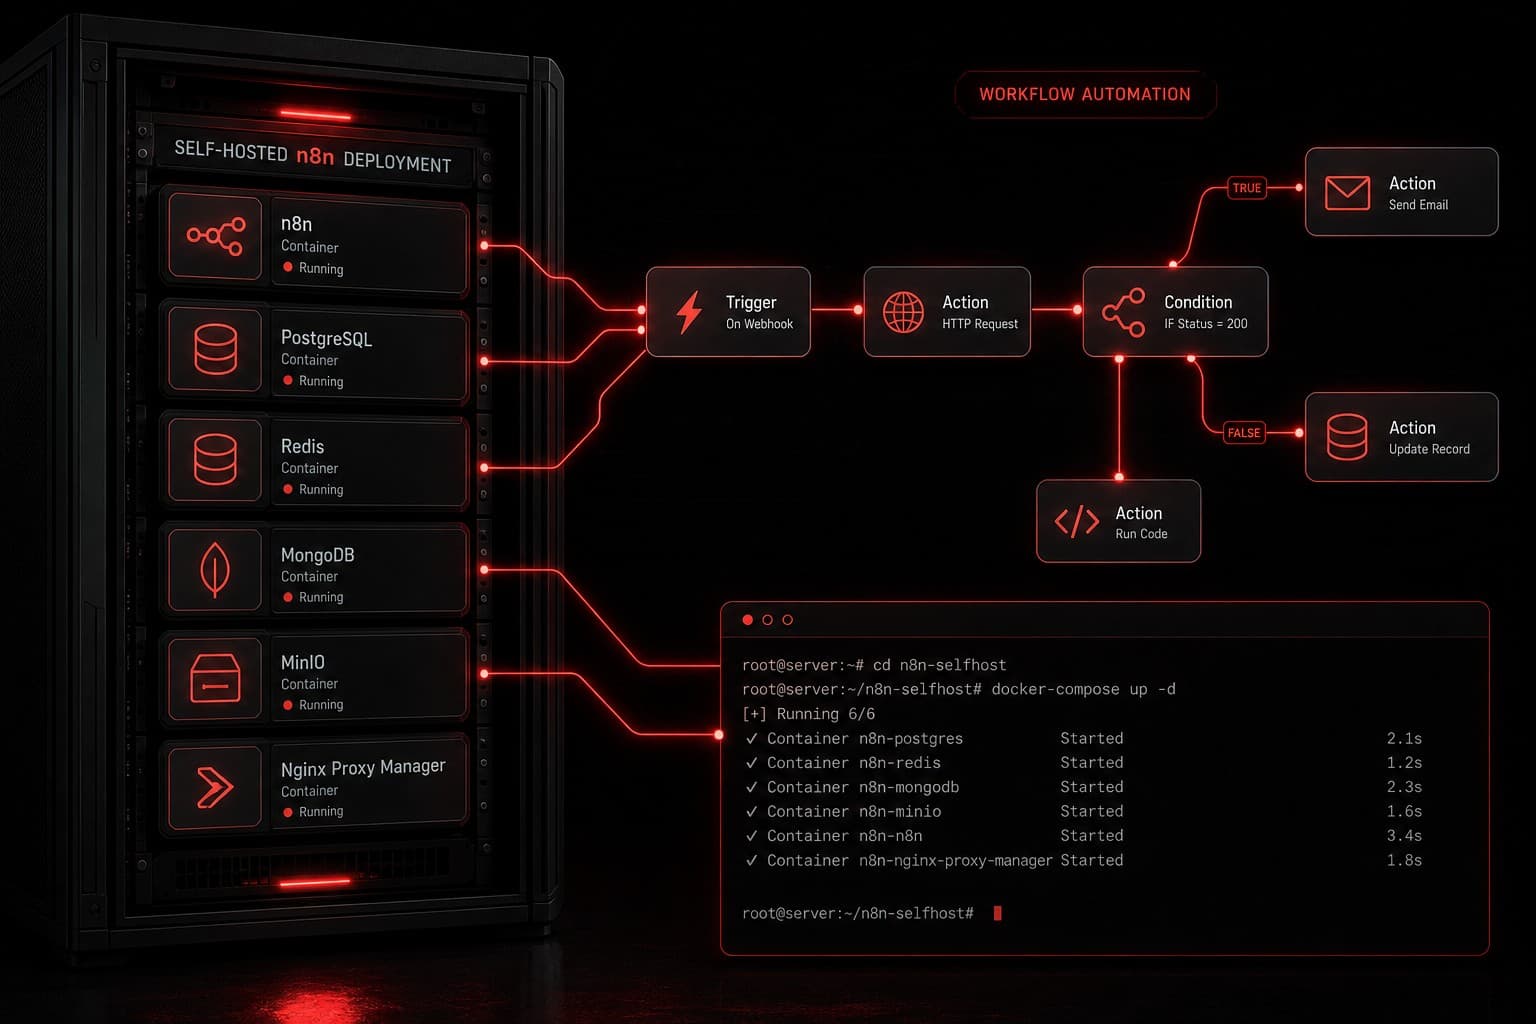
Step 3: Set Up n8n with Docker Compose
Create a directory for your n8n deployment:
mkdir -p /opt/n8n && cd /opt/n8n
Create a docker-compose.yml file:
version: "3.8"

services:
  n8n:
    image: n8nio/n8n:latest
    restart: always
    ports:
      - "5678:5678"
    environment:
      - N8N_HOST=n8n.yourdomain.com
      - N8N_PORT=5678
      - N8N_PROTOCOL=https
      - WEBHOOK_URL=https://n8n.yourdomain.com/
      - N8N_BASIC_AUTH_ACTIVE=true
      - N8N_BASIC_AUTH_USER=admin
      - N8N_BASIC_AUTH_PASSWORD=your-strong-password-here
      - GENERIC_TIMEZONE=America/Los_Angeles
      - TZ=America/Los_Angeles
    volumes:
      - n8n_data:/home/node/.n8n

volumes:
  n8n_data:
Replace n8n.yourdomain.com with your actual domain, and set a strong password.
Start n8n:
docker compose up -d
At this point, n8n is running on port 5678 — but we are not done yet. You need SSL.
Step 4: Add SSL with a Reverse Proxy
Never run n8n on bare HTTP in production. I use Caddy as a reverse proxy because it handles SSL certificates automatically — no certbot cron jobs, no manual renewals.
Install Caddy:
apt install -y debian-keyring debian-archive-keyring apt-transport-https
curl -1sLf 'https://dl.cloudsmith.io/public/caddy/stable/gpg.key' | gpg --dearmor -o /usr/share/keyrings/caddy-stable-archive-keyring.gpg
curl -1sLf 'https://dl.cloudsmith.io/public/caddy/stable/debian.deb.txt' | tee /etc/apt/sources.list.d/caddy-stable.list
apt update && apt install -y caddy
Create a Caddyfile:
cat > /etc/caddy/Caddyfile << 'EOF'
n8n.yourdomain.com {
    reverse_proxy localhost:5678
}
EOF
Restart Caddy:
systemctl restart caddy
Caddy will automatically provision a Let's Encrypt SSL certificate. Within 30 seconds, https://n8n.yourdomain.com should load the n8n login screen.
Step 5: Verify Your Installation
Open your browser and navigate to https://n8n.yourdomain.com. You should see the n8n login page. Enter the basic auth credentials you set in the Docker Compose file.
Once logged in, create a simple test workflow:
- Add a Manual Trigger node
- Connect it to a Set node that outputs
"hello": "world" - Click Execute Workflow
If you see the output, your self-hosted n8n instance is production-ready.
Step 6: Set Up Automated Backups
Your workflows and credentials live in the Docker volume. Losing that data means rebuilding everything from scratch. Set up a daily backup with a simple script:
cat > /opt/n8n/backup.sh << 'SCRIPT'
#!/bin/bash
BACKUP_DIR="/opt/n8n/backups"
mkdir -p $BACKUP_DIR
TIMESTAMP=$(date +%Y-%m-%d_%H%M%S)
docker compose -f /opt/n8n/docker-compose.yml exec -T n8n \
  n8n export:workflow --all --output=/home/node/.n8n/backups/
docker cp $(docker compose -f /opt/n8n/docker-compose.yml ps -q n8n):/home/node/.n8n/backups/ \
  $BACKUP_DIR/$TIMESTAMP/
find $BACKUP_DIR -maxdepth 1 -mtime +30 -type d -exec rm -rf {} +
echo "Backup completed: $TIMESTAMP"
SCRIPT

chmod +x /opt/n8n/backup.sh
Add it to your server's crontab to run nightly:
crontab -e
# Add this line:
0 2 * * * /opt/n8n/backup.sh >> /var/log/n8n-backup.log 2>&1
This exports all workflows as JSON files and keeps 30 days of history.
Production Hardening Tips
Once the basics are running, there are a few things I do on every production n8n server:
Use a Dedicated Database
The default SQLite database works for small setups, but PostgreSQL handles concurrent workflows much better. Add a Postgres container to your Docker Compose:
services:
  postgres:
    image: postgres:16
    restart: always
    environment:
      - POSTGRES_DB=n8n
      - POSTGRES_USER=n8n
      - POSTGRES_PASSWORD=your-db-password
    volumes:
      - postgres_data:/var/lib/postgresql/data

  n8n:
    # ... existing config ...
    environment:
      # ... existing env vars ...
      - DB_TYPE=postgresdb
      - DB_POSTGRESDB_HOST=postgres
      - DB_POSTGRESDB_PORT=5432
      - DB_POSTGRESDB_DATABASE=n8n
      - DB_POSTGRESDB_USER=n8n
      - DB_POSTGRESDB_PASSWORD=your-db-password
    depends_on:
      - postgres
Enable Execution Pruning
Without pruning, your database grows indefinitely with execution logs. Add this to your n8n environment variables:
- EXECUTIONS_DATA_PRUNE=true
- EXECUTIONS_DATA_MAX_AGE=168  # 7 days in hours
Set Up Monitoring
I use a simple health check endpoint to monitor uptime. Add this to your Caddyfile or use an external monitor like UptimeRobot pointed at https://n8n.yourdomain.com/healthz.
Self-Hosted n8n vs Cloud vs Other Platforms
If you are comparing your options, here is how self-hosted n8n stacks up:
| Factor | Self-Hosted n8n | n8n Cloud | Zapier | Make.com |
|---|---|---|---|---|
| Monthly cost | $5-20 (VPS) | $24-200+ | $29-750+ | $10-300+ |
| Execution limits | Unlimited | Plan-based | Per-task | Per-operation |
| Data control | Full | Partial | None | None |
| Setup complexity | Medium | None | None | None |
| Custom nodes | Yes | Yes | No | No |
| AI integrations | Full API access | Full API access | Limited | Good |
For a deeper comparison of n8n with commercial alternatives, check out our articles on n8n vs Zapier and n8n vs Make.
Want to see how n8n compares to the broader automation landscape? Our business automation guide covers when each tool type makes sense.
Common Issues and How to Fix Them
Webhooks Not Firing
If your workflows use webhook triggers, make sure WEBHOOK_URL in your Docker Compose matches your public domain exactly — including https://. A mismatch here is the number one reason webhooks fail silently.
High Memory Usage
n8n can spike in RAM during complex workflows. If you are seeing OOM kills, increase your server to 4GB RAM or add swap:
fallocate -l 2G /swapfile
chmod 600 /swapfile
mkswap /swapfile
swapon /swapfile
echo '/swapfile none swap sw 0 0' >> /etc/fstab
Updates
Updating n8n is a one-liner with Docker:
cd /opt/n8n
docker compose pull
docker compose up -d
Always back up before updating. Major version jumps occasionally include breaking changes to node configurations.
Should You Self-Host n8n?
Self-hosting n8n is the right move if you want unlimited automations, full data ownership, and cost control. It is not the right move if you have zero server experience and no one on the team to maintain infrastructure.
For most agencies and businesses I work with, the answer is clear: self-host. The $15/month VPS pays for itself the first time you avoid a $200 cloud plan overage.
If you are building automations that connect to AI — like ChatGPT workflows — self-hosting also gives you unrestricted API access without platform gatekeeping.
FAQs
Is self-hosted n8n really free?
Yes. The n8n community edition is open-source under a fair-code license. You pay only for your server infrastructure — typically $5-20/month for a VPS. There are no per-workflow or per-execution fees.
Can I migrate from n8n Cloud to self-hosted?
Absolutely. n8n lets you export all workflows as JSON files from the cloud instance and import them into your self-hosted setup. Credentials need to be re-entered manually since they are encrypted per-instance.
How do I handle n8n updates on a self-hosted server?
Run docker compose pull followed by docker compose up -d in your n8n directory. Docker pulls the latest image and restarts the container. Always back up your data volume before updating, especially for major version changes.
Is self-hosted n8n secure enough for production?
With proper setup — SSL via reverse proxy, basic auth or SSO, firewall rules, and regular updates — self-hosted n8n is production-ready. Many enterprises run it this way. The key is never exposing it on bare HTTP and keeping the server OS patched.
Ready to Automate Without Limits?
Self-hosting n8n removes the ceiling on what you can automate. No per-task fees, no execution caps, no data leaving your infrastructure.
If you want help designing automation workflows — whether on n8n, GoHighLevel, or a custom stack — book a free strategy call and let's map out what makes sense for your business.